Wednesday, January 29, 2014

Project: Wedding Dance Moments


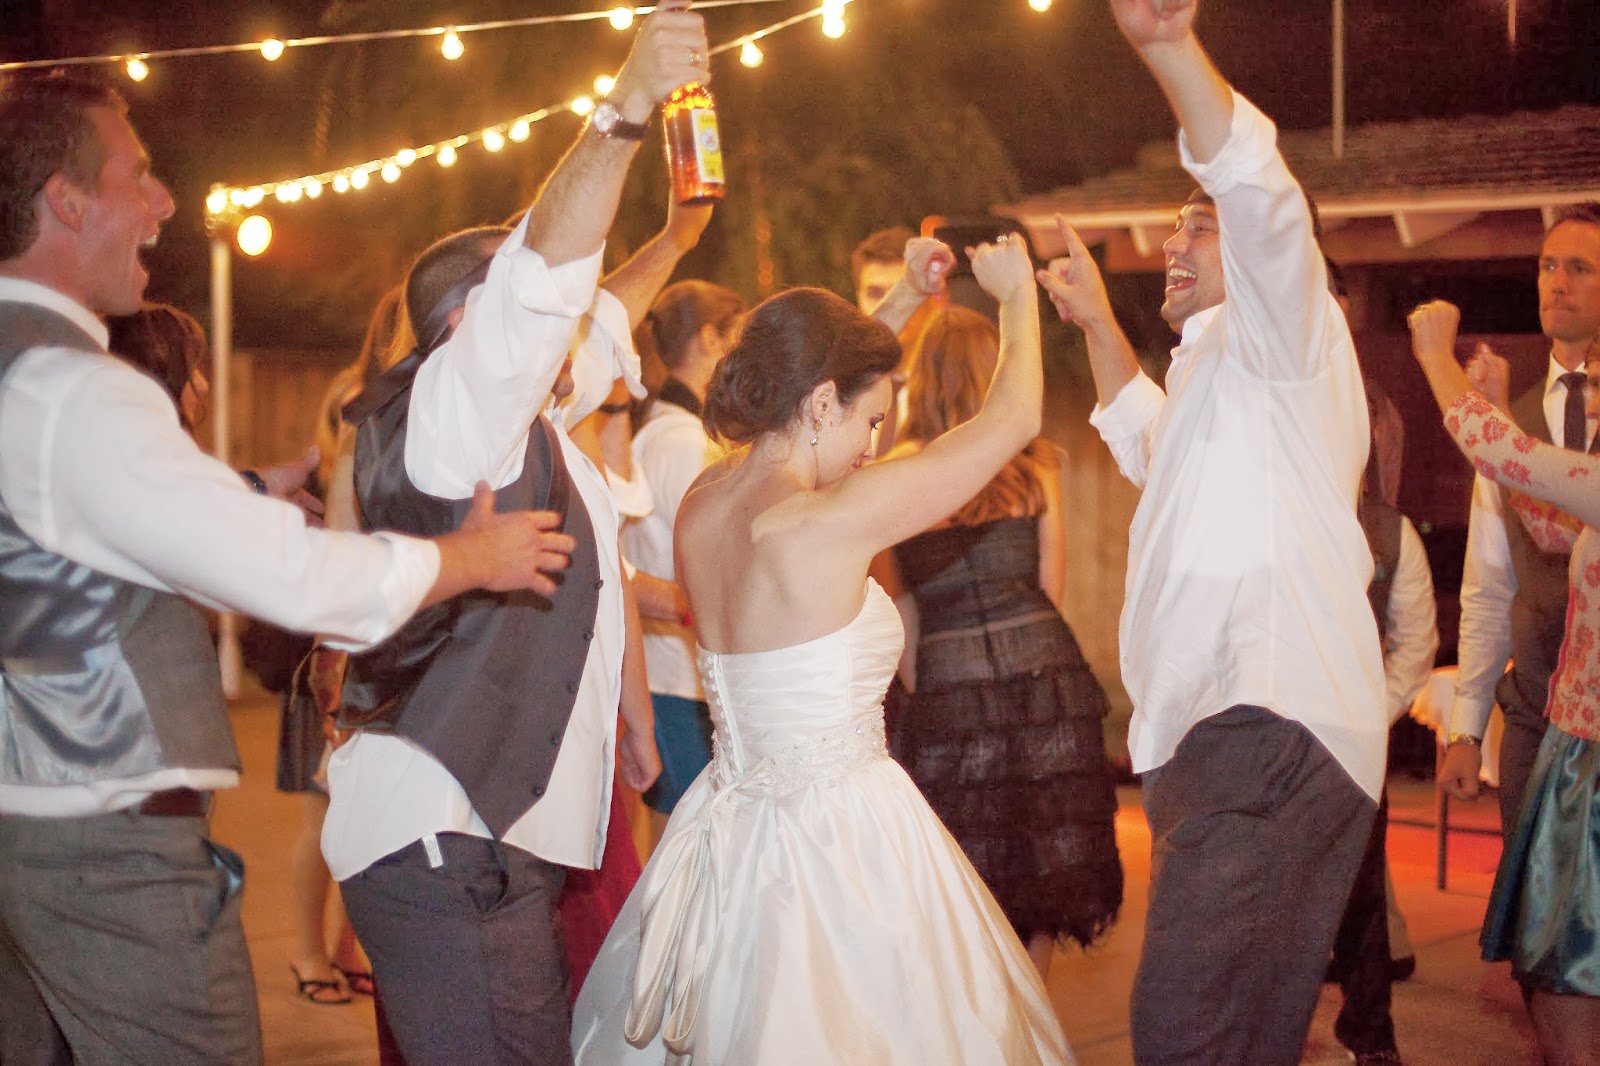
It's no secret that my husband and I love, love, love to dance at weddings. I think a lot of people get nervous to look goofy, but there is no more perfect a time to look goofy than when everyone is so filled with joy for the newlyweds. Even the bride and groom, who might normally be shy or embarrassed, are so excited to be surrounded by family and friends and are so relieved that it's over, that they will get their groove thang on.

What's awesome about dancing, is that everyone has a 'dancing face.' And it's usually hilarious. I loved the dancing at our wedding. I was filled with joy looking around and seeing friends and family filled with freedom to be themselves, have fun, and celebrate. I had a fabulous wedding photographer in Heather Pepin, who captured so many hilarious moments from the Greene Blue Wedding Dance Floor.
 
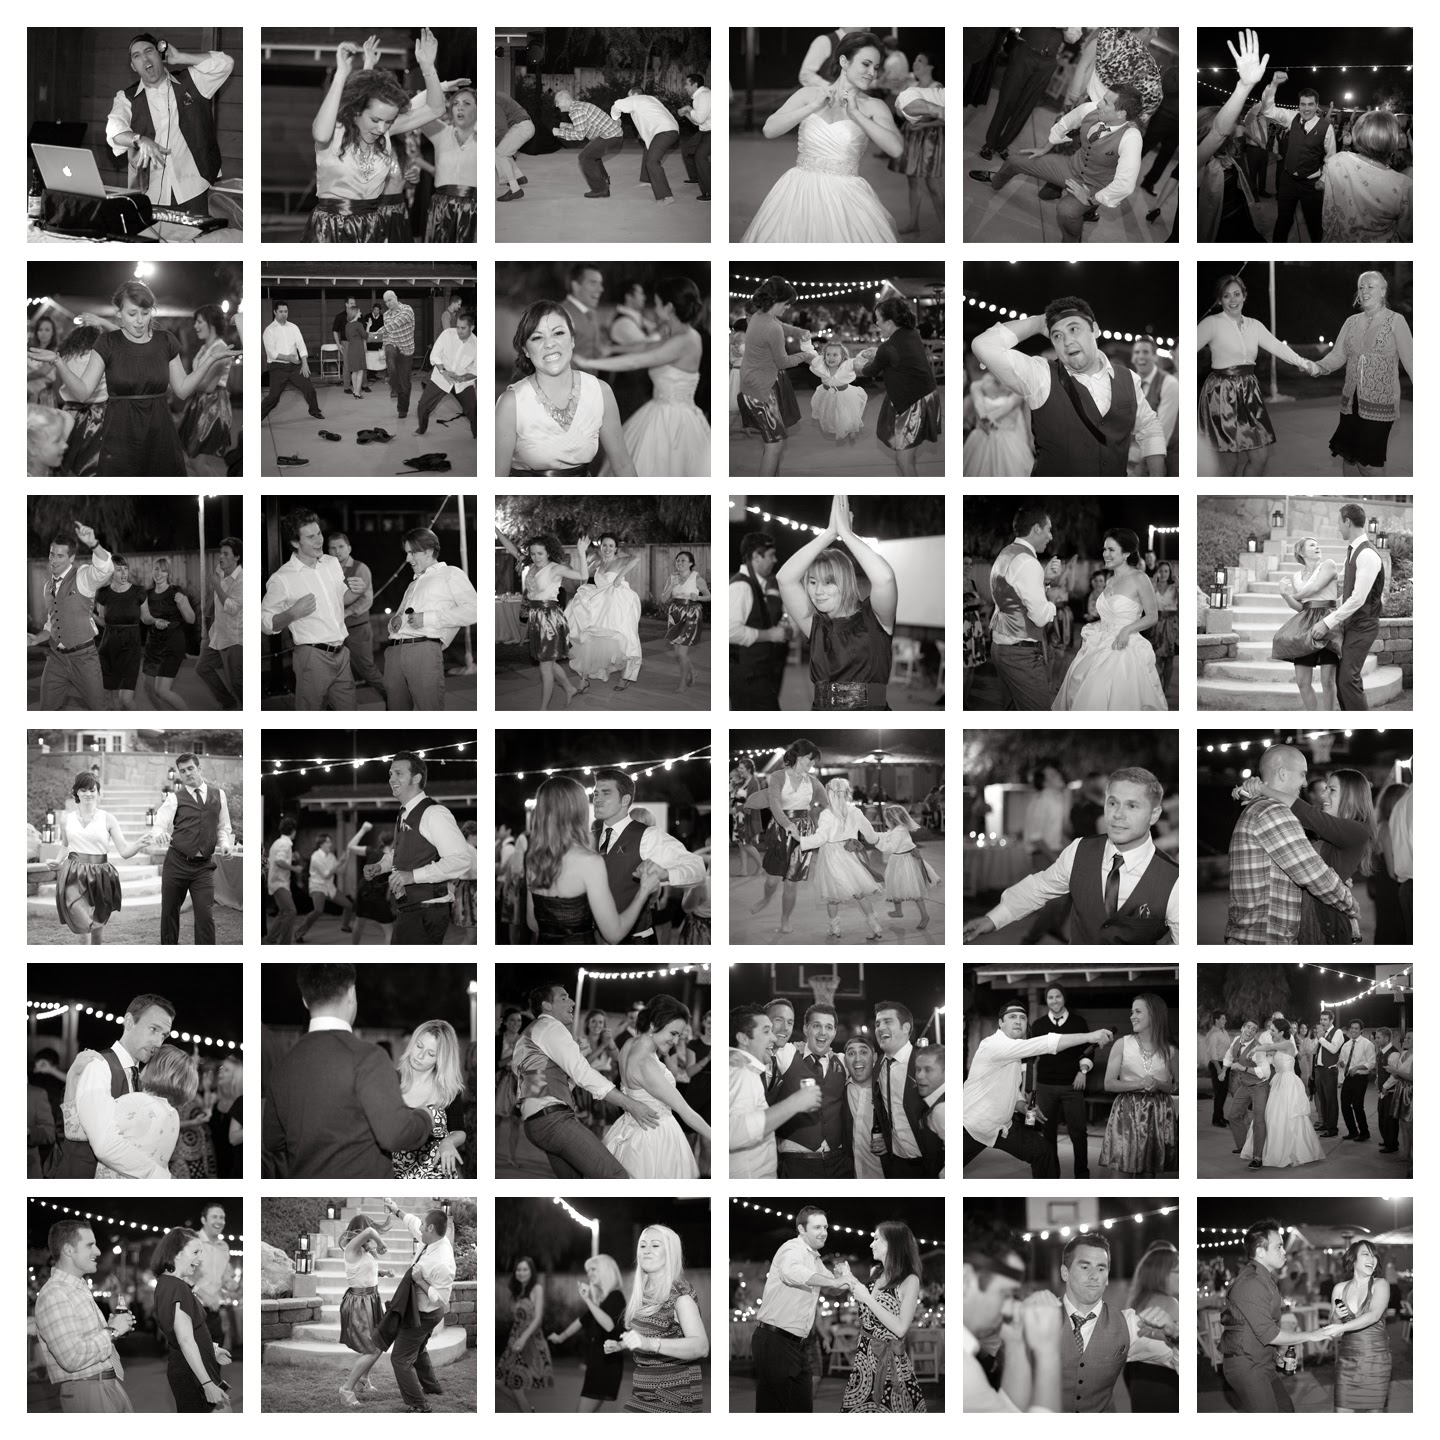
I turned these dancing photos into a collage for our apartment so that we could see these silly faces everyday. It brings me joy every time I look at it. So yes, if you danced at our wedding, there is probably a picture of you and your dancing face on a wall in my kitchen. You're welcome.


Here's how I did it:

(disclaimer: I am no expert at Photoshop and had to learn as I went, this is definitely beginner stuff)

1. Make a folder of all of your favorite dancing photos

2. Decide on what frame you will use. I chose a large square frame in gray, from Ikea's Ribba frame collection. Without the mat the frame is 19.75 x 19.75 inches. 

3. Decide on how many photos you want to use, and work out the math to decide on how many rows and how many columns of photos you want. Since I chose a square frame, I needed a number that divided equally. After playing around with it, I decided on 6 photos across and 6 photos down, for a total of 36 photos. After playing with the calculater, it worked to do each photo as a 3x3 inch square, with .25 inches as a border and between each photo. That's 18 inches in photos total, and 1.75 inches in borders.


Ready for Photoshop?


1. File > New. Type in your individual photo size, which is 3x3 inches. File > Place to select which photo you want. Adjust the photo to fit in the square as you want it. I wanted a variety, so I did some photos centered, some off-centered, some zoomed in close, and some zoomed out wide. Mix it up. (Just like dancing:) Very important: choose the same filter for each photo. I wanted all of mine black and white, and I went with the green filter in black and white. Using the same filter will bring uniformity to the photos.  Save that photo into your folder, and number it. Repeat with all photos you'd like to use. You end up with a folder full of 3x3 inch photos ready to go into your collage.

2. To create your collage, go to File > New, and make your image size 19.75 x 19.75.

3. Set gridlines to space your photos evenly: go to View > New Guide and create the following for BOTH horizantal and vertical:
.25
3.25
3.5
6.5
6.75
9.75
10
13
13.25
16.25
16.5
19.5

4. Place all photos within the gridlines. File > Place, and select photo. Click it into the box where you want it. Try to vary the photos distances and content. Place photos that are far away with photos that are up close, photos with one person next to group photos, etc.

And there's your collage! If you'd like to rework the photos, continue to 'place' them on top of each other. Once all photos are placed where you want them, go back to the View drop down and remove the gridlines.


Printing and Framing:
Just because you chose a frame at a certain size, doesn't mean that photo-printing websites will print it at that size. I order my photos from Costco, and the closest size they will print is a 20 x 30. After saving your collage, go to Image > Canvas Size and change it to the size that the website will print. I ended up with a photo that is 19.75 x 19.75 inches on a white background "canvas" that is 20 x 30 inches.


I simply cut it down to my frame size, and framed it up!

I also found a sweet little greeting card at Trader Joes (thanks to my sister for letting me grab the last one!), framed it, and hung it with my collage.

Pin It
handsome hubby (he didn't wear socks to our wedding apparently)


Tuesday, December 17, 2013

Holiday Shopping Extravaganza


My 'real-life' job is working in property management at some large apartment communities. This year I coordinated a craft fair at one of the community's holiday parties. I invited five other San Diego Etsy sellers to join, which made for a fun holiday shopping experience for the residents.  It was also really fun for me to set up my goods in a pretty display!


It was also fun to meet other Etsy-ans (Etsy-ites?) and see their amazing products. Check them out for yourself!


Saturday, November 30, 2013

Tuesday, November 26, 2013

And the Pippi winner is...

Thank you so much to all who visited my blog on the Holla Knits Blog Tour! The randomly chosen winner of a copy of the Pippi pattern is  Zombie Queen! I loved reading everyone's comments with what fabulous colors you will use for your scarves, and I can't wait to see your Pippis up on Ravelry!


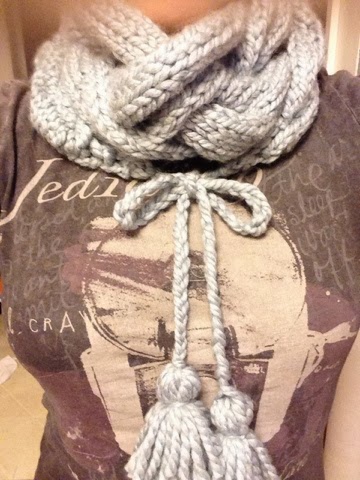
 I knitted up another Pippi in a lovely ice blue for a friend (sorry about the quick cell phone photo) and I just love this pattern. Perfect for making holiday gifts! Wishing you a very Happy Thanksgiving!


Friday, November 15, 2013

Pippi: Holla Knits Fall/Winter Accessories Collection 2013

Since the winter months can be somewhat dreary, I love designing knits that brighten the spirits. That's why I'm so excited to introduce Pippi, from the Holla Knits Accessories Collection 2013! I was thrilled to work with Allyson because her collections have a quirky and fun style. Pippi is quirky and fun too! Pippi was named after Pippi Longstocking, because she's strong, confident, and has funky pig tail braids that stick out. The braids and tassels of the scarf are carefree and fun, just like Pippi!


Pippi actually started as a totally different accessory (stay tuned in 2014!) and evolved into a chunky, cozy, cable-y scarf that hugs you when you wear it. I'm a sucker for sinking my needles into some chunky yarn with a project that gives some instant gratification (knit-ification?).


Pippi is knit up with braided cables, while increasing and decreasing to create the shape of a stole. Braided tails are added at the ends, with poofy tassels to top it off. Wrap it around twice and tie it with fun braided tassels for a cowl, or toss it around your neck and let the tassels hang long.


Pin It
I can't wait to see Pippi projects on Ravelry in all kinds of punchy colors and combinations! Head over to the Holla Knits Blog to enter to win a skein of Wooly Wonka Fibers Brigit Bulky so that you can knit up your very own Pippi! Leave a comment here on my blog telling me what fabulous color (s) you're excited to use for your Pippi, and be entered to win a copy of the pattern!


Wednesday, November 13, 2013

Big Dots Beanie

There is a new pattern up in my Ravelry store and my Etsy store! The Big Dots Beanie is exactly what it's called. Big. Dots. In a beanie. And a big pompom too! Love it.


 This pattern is perfect for knitting up some fun gifts for the holidays, and one for yourself of course.


The pattern comes with written instructions and a chart for the dots pattern. Do you have some random scraps of super bulky that you want to use up? This pattern offers yardage for using 2, 3, and 4 different colors for your beanie. Purchase it on Ravelry or Etsy! What colors will you combine for your Big Dots Beanie?

Pin It


Wednesday, October 23, 2013

What's for dinner: Mahi Mahi Salad


I'm always looking for quick, easy, and healthy dinners, and since I mostly shop at Trader Joes, I like to share how I use their products. We try to eat a (mostly) Paleo diet, which takes some creativity. I don't claim to be a chef by any means, but I love sharing what I make. I hope you can use my recipes to jazz up your dinner table in a jiff!

MAHI MAHI SALAD (serves 4, one burger per person)

1 package frozen Mahi Mahi burgers from Trader Joes (or anywhere else)
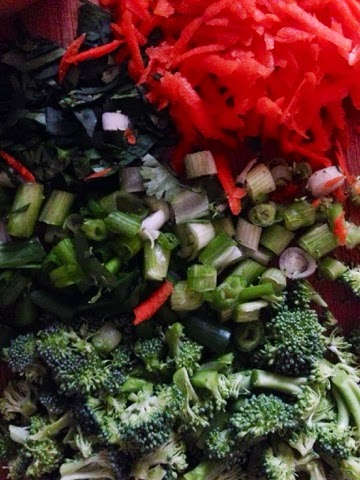
1 package shredded cabbage
1 carrot, grated (or 3/4 cup pre-shredded carrots)
4 green onions, chopped
4-5 sprigs cilantro, chopped
1 cup raw broccoli, chopped

Sesame Lime Vinaigrette:

1 t grated ginger (tip: keep ginger root in your freezer, and grate frozen)
Juice of one lime
1/3 cup coconut cream 
3 T soy sauce (or coconut aminos)
3 T rice vinegar
2 T sesame oil
2 T grapeseed oil or vegetable oil
1 T honey
1 t chili garlic sauce (optional, for some heat)
pinch of salt


 Combine all ingredients in a mason jar and shake, or whisk well in a bowl. Put in fridge and let sit while you work on the rest.


Cook up the burgers on the grill according to the box instructions---grill, pan, or oven! Toss all salad ingredients together. Drizzle the vinaigrette over the salad and toss. Place burger on top and serve.

I love Trader Joes, so most of the recipes I make include their products. Most of the ingredients can be found in other stores so I hope you try it out, even if you don't have a Trader Joes in your neighborhood! (And as long as I'm hoping for things, I hope one comes to your neighborhood soon!)

Leftovers? Here's an idea for dinner #2 or lunch the next day: Chop up the remaining fish and put it in a tortilla with some of the salad. Serve with the vinaigrette and a lime wedge for a quick fish taco. YUM. I'm going to try making tortillas out of coconut flour, so I'll let you know how they turn out!


Friday, October 4, 2013

Fourth Day Earwarmer Recipe


Pin It

The Fourth Day Earwarmer is a quick knit to keep your head toasty warm this season. I named it "Fourth Day" because it will become that favorite accessory that will help you squeeze a fourth day out of your blowout. I love anything that keeps me from having to wash my hair!

It's not really a pattern design, just a quick little project to use up some last bits of yarn and to brighten your wintery spirits.

Not a knitter? You may purchase this cozy earwarmer in my ETSY SHOP!


RECIPE:

40 yards super bulky yarn (I used Loops & Threads Cozy Wool, my fav)
sz 13 needles
tapestry needle

Crossed Stitch:
R1: k1, *sl 1 st purlwise (with yarn at the back), k1, yo, psso (pass slipped stitch over both), repeat from * to last stitch, k1
R2: k1, purl to last stitch, k1
*See notes at the end for help with stitch pattern

CO 14 stitches.
R1: Begin with R1 of Crossed Stitch pattern.
R2: Every WS row will be R2 of Crossed Stitch pattern.
Repeat R1 and R2 for 19 inches, or a length that fits your head size.
Bind off.
Weave in ends and block.
Seam ends of work together using mattress stitch. Note: the stitch pattern creates diagonal ends of the work, so the seam will run diagonally as well.

Now throw on your earwarmer and put your blow dryer away!

Please post your cute earwarmers on the RAVELRY PROJECT PAGE to show your Fourth Day love!

Extra help:
Slipping a stitch purlwise
Slipping a stitch purlwise with yarn at the back
Passing a slipped stitch over
Abbreviations


Text © Emily Blue 2013
Photographs © Emily Blue 2013
This pattern is intended for personal use only and not for retail sale. All rights reserved. No portion may be reproduced or transmitted in any form without prior permission of the author.


Monday, September 30, 2013

Celebrating Fall!


Pin It

 I am so thankful that the weather is (slowwwly) starting to cool off! It has been a toasty summer and I'm ready to wear some yummy sweaters and boots. To celebrate, I am offering FREE SHIPPING for all of October in my Etsy shop HERE! You'll find some great accessories to jazz up your fall wardrobe, including slouchy beanies, polka dots, and neon, oh my!

Monday, September 23, 2013

Road Trip Blues


One of the Blue family goals for this year was to take a road trip and see some parts of California that this Southern California girl has never seen. When you live in SoCal, you think that the Bay Area is Northern California. Well this trip showed me that there is a LOT of Northern California north of San Francisco, and I love it! Boy, do we live in a beautiful state!

Blue Family Road Trip Essentials:

1. Cooler filled with snacks
2. Audiobooks: Bossypants by Tina Fey and The Informant by Kurt Eichenwald
3. Priceline app for iPhone (we booked our hotels about 30 minutes in advance)
4. Headwrap (ok, that was just for me because who wants to wash their hair on a road trip??)
5. In n' Out, several times
6. Comfy car (we heart you, Subie!)
7. Fanny pack (also for me-- essential for hands-free hiking)


This was our route for 7 days:
Yosemite ---> through Reno to Redding ---> through Mt. Shasta area to the coast ---> stop in McKinleyville for lunch ---> up the coast to the Redwoods ---> up further to Crescent City ---> down the coast to Trinidad Bay ---> down further to Ukaia ---> stop in Carmel for lunch ---> up and over thru San Jose area to the Grapevine ---> back home!

When we left home, all we had planned was that we would see Yosemite and the Redwoods, and we weren't sure of what we'd do or where we'd stop in between. I'm so proud of our spontaneity! (One of us was very nervous about spontaneous travel, I'll give you one guess who that was.)


Here are some highlights...

Most Challenging Excursion: climbing the Upper Falls Trail in Yosemite Park

view of Half Dome from the trail

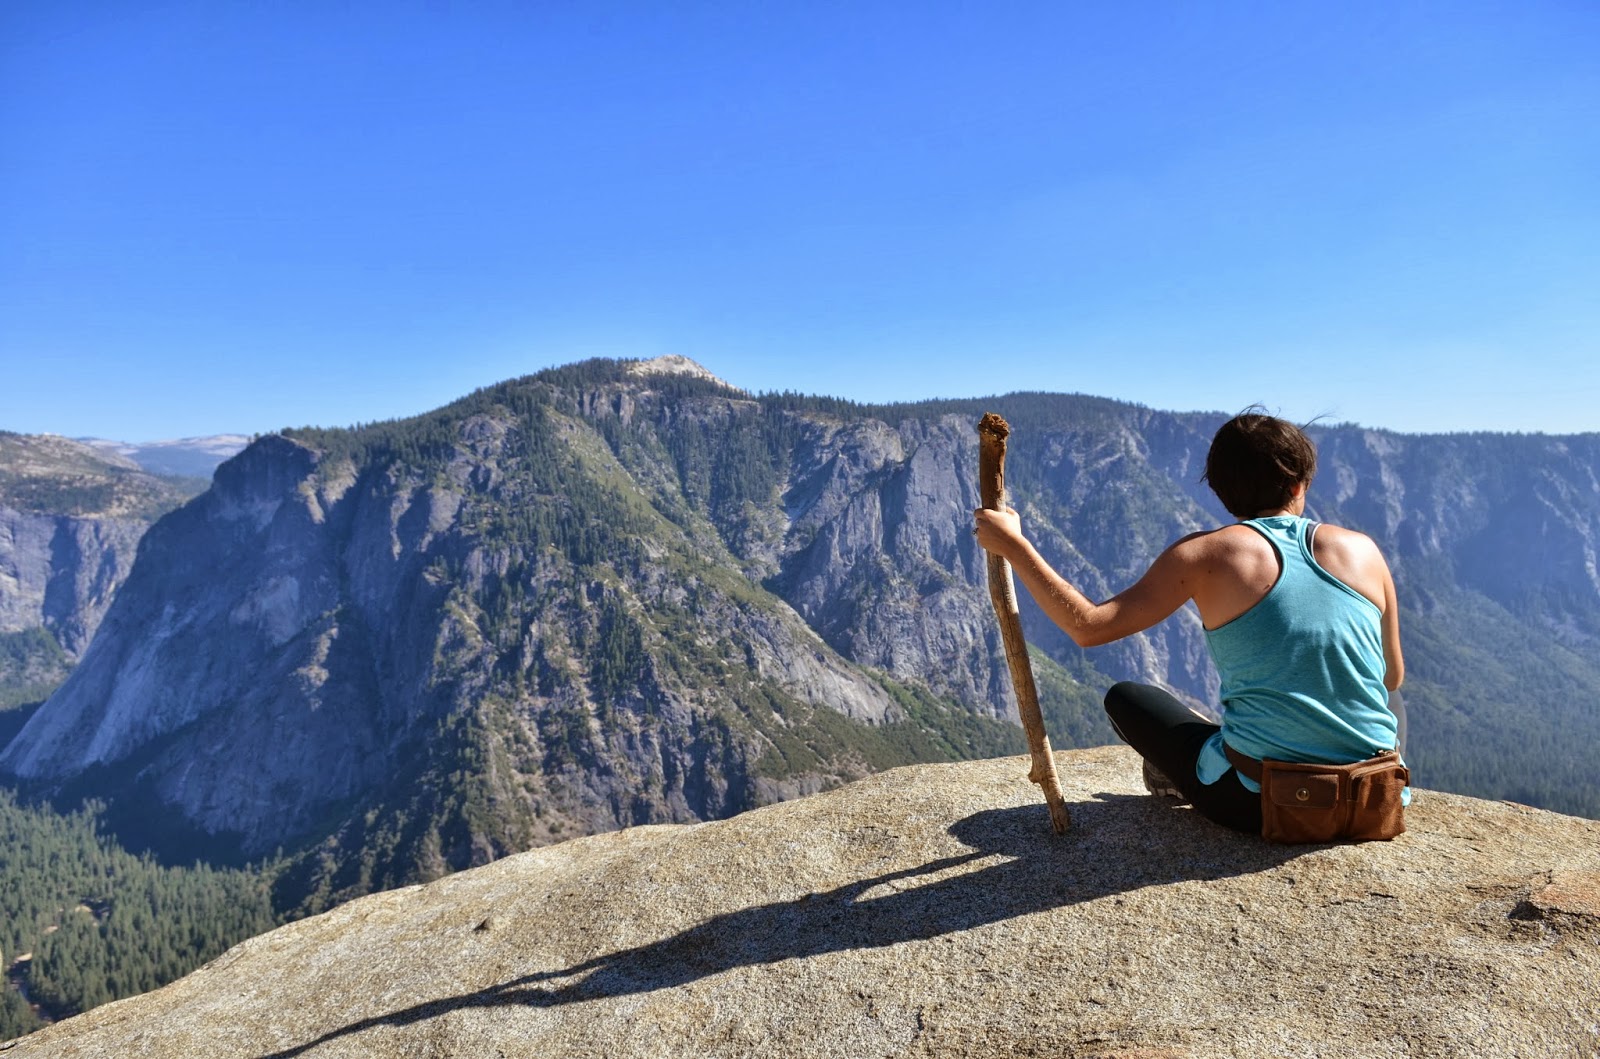
At the top of the Upper Falls Trail, thinking "How am I going to get down from here??"

Favorite Spot in Yosemite: Tenaya Lake


Favorite Animal Sighting: a herd of elk lounging around a school house/museum


Favorite Adventure: Hiking in the Redwoods


Favorite Discovery: Trinidad Bay

Trinidad ~ population: 311 ~ used for commercial fishing boats ~ home to one of the oldest lighthouses in CA


 Favorite Meal: Trinidad Bay Eatery ~ calamari, clam chowder, fish n' chips and blackberry cobbler, YUM.


 Biggest Realization: Spending time together in nature, doing adventurous things, feeling vulnerable sometimes, and making quick decisions will all bring you closer to your partner. Loved it.


Sunday, August 18, 2013

Swatched: Erika Knight Maxi Wool

 
Pin It

Even though it's August and not wool-knittin weather, I swatched some up last night. I bought this yarn on a trip with my hubby to Blue Bell, PA for a wedding this last February (brrrr!!).


We spent a day in Phillie after the wedding, and of course I had to look up a popular LYS and decided on Rosie's Yarn Cellar. There wasn't any parking outside so my husband was "forced" to sit in the car and listen to sports radio instead of coming inside the yarn shop. What do I bee-line for when I don't have a lot of time to browse around? Super bulky. Gimme. I saw the color Artisan of Erika Knight Maxi Wool and couldn't leave without it. Find it on Ravelry HERE.

Stats on the tag:
100% British Wool
100g per hank
shade: artisan
shade no: 20
lot no: 539

80m/87yds
8 sts & 12 rows = 10 cm / 4 in.
US 15-17
(I tend to knit bigger than most gauges so I used US 13s)
My gauge: 9 sts & 14 rows = 4 in.

I love this yarn. It knits up so nicely in stockinette. It feels like a sturdy and hearty wool, but isn't scratchy at all. I only bought two hanks, but if I had bought more I wouldn't hesitate to make this into a sweater.

I'm now deciding on what I will make with this yummy yarn. Possibly Starflower?